Rubber mulch is a versatile material that’s not only eco-friendly but also a boon for safety in landscaping and playground surfaces.
Made from recycled tires, it’s a smart choice for those of us looking to create a safe play area for kids or add a touch of durability to our garden paths.
Installing rubber mulch isn’t just about dumping it onto the ground; it requires a bit of know-how to ensure longevity and maximum efficacy. As far as landscaping goes, this stuff is the unsung hero.
It doesn’t decompose like traditional wood mulch, and trust us, that’s a plus. It means less maintenance and a consistently neat appearance without the hassle of annual replenishment.

When it comes to playgrounds, safety is our top priority, and rubber mulch steps up to the plate admirably. Its shock-absorbent properties are a cushion for falls, giving us peace of mind while little daredevils climb and swing.
Of course, we don’t throw safety to the wind; proper installation is key to maintaining the integrity of this protective surface.
Let’s not kid ourselves; injury prevention is paramount, and a correctly installed rubber mulch surface can significantly reduce the risk of injuries on the playground.
Now, let’s talk about the benefits – they’re not just blowing smoke.
Rubber mulch is a stalwart against weathering, it doesn’t attract pests, and weeds will think twice before bucking heads with it.
For us green thumbs, this means more time admiring our petunias and less time fighting off the advances of pesky invaders.
Whether we’re aiming for a spiffy backyard or a kid’s haven, knowing the steps to install rubber mulch puts us ahead in the game.
It’s all about doing it once and doing it right, and we’re here to steer the ship expertly toward a safer and more stylish outdoor space.
Preparing for Installation
In this critical phase, it’s key for us to lay the groundwork meticulously for the rubber mulch to enhance its durability, prevent weed growth, and ensure proper drainage.
Area Assessment and Planning
Before we grab our garden tools, assessing and planning the installation area is essential.
We need to ensure that the space is suitable for rubber mulch—the size matters for how much mulch we’ll need, and the location influences the type of drainage system we may need to install.
It’s also a time to decide the shape of our mulched area, be it an oval bed or a more unconventional design.
Materials and Tools
💥 What We’ll Need:
- Shovel and Rake
- Wheelbarrow or Cart
- Landscape Staples and Edging
- Garden Hose and Tarp
- Spade and Garden Shears
- Rubber Mulch (bulk rubber mulch for larger areas)
Solid preparation means gathering all the essentials, from basic garden tools to the right amount of landscape fabric and rubber mulch.
A handy wheelbarrow or cart can help us transport materials, and the correct use of a tarp will save us clean-up time.
Base and Border Construction
For a landscape to be sustainable, it needs a proper base and border.
We often use pavers or stones for a firm edging that keeps the mulch contained. For playgrounds, a rubber or antimicrobial landscape fill can offer added safety features.
Starting with a level base, whether it’s existing grass or a new layer of topsoil or compost, prevents future complications.
Weed Prevention and Drainage
A good weed barrier fabric is an unsung hero in landscaping.
It blocks unwanted vegetation while allowing water to pass through. When we lay down this fabric, it will save us countless hours fighting with weeds and ensure our playground or landscaping material doesn’t get overrun by unwelcome plants.
Measuring and Calculating
To figure out how much mulch we need, it’s all about the area’s measurements.
Knowing the desired depth and thickness, we [calculate the cubic feet](https://mulchstoremn.com/how-to-calculate-how-much-mulch-i-need/) of mulch required.
A bit of math now can save us extra trips to the store later!
Measuring for bulk rubber mulch might seem daunting, but it’s quite straightforward.
We measure the length and width of our area, decide on the depth of the mulch layer, typically 2-3 inches for landscaping and up to 6 inches for playground surfacing, and calculate the volume needed.
A general tip: compact the mulch lightly as it will settle over time.
Installation and Maintenance
Laying the right foundation for rubber mulch not only provides a cushioned surface for play areas but also revamps the aesthetics of any landscape.
It’s crucial that we install it properly for longevity, and then follow up with consistent care.
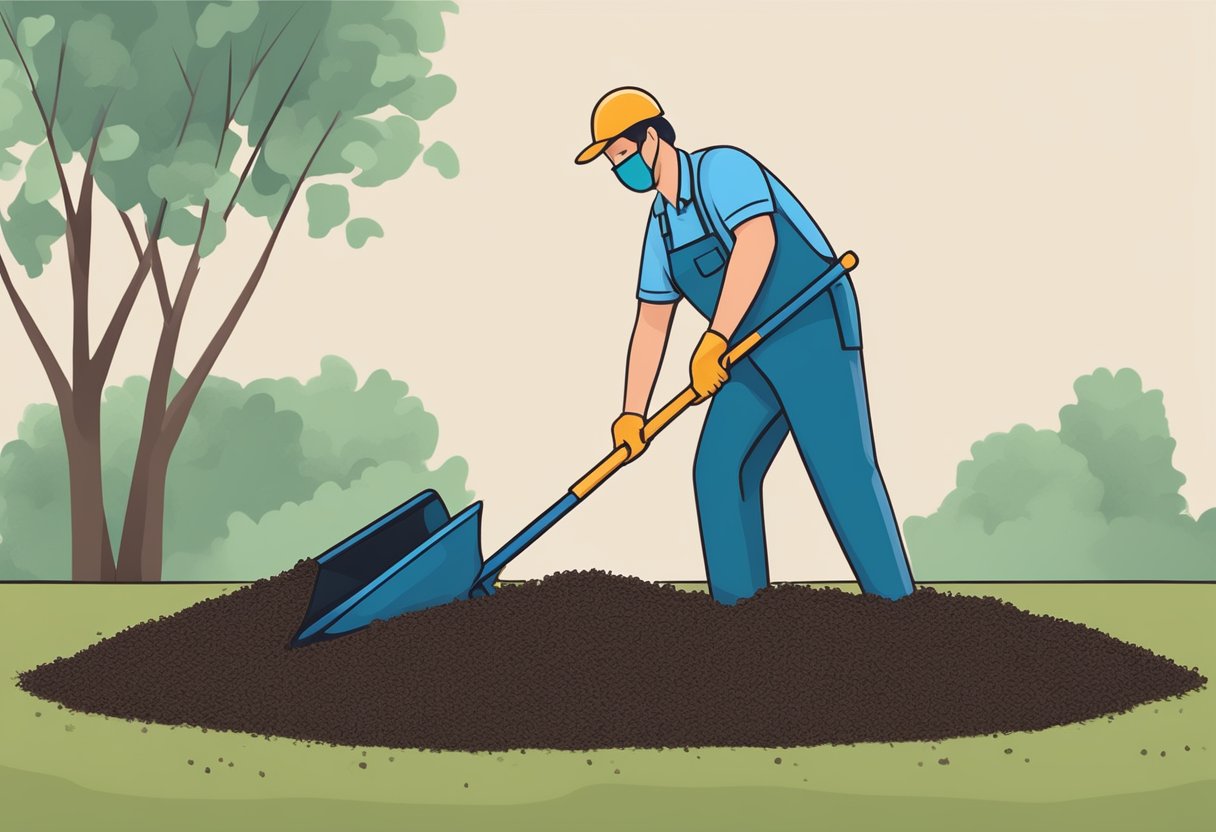
Laying the Rubber Mulch
Before we spread a single nugget, let’s clear the area of debris and lay a quality landscape fabric to suppress weeds and keep our mulch separate from the soil. You’ll want to:
- Measure the area.
- Fit the fabric snugly, cutting it around obstacles.
- Overlap seams by about 4 inches.
Then, pour the rubber mulch on top, aiming for a uniform depth — generally, 1-3 inches works for landscaping, while 3-6 inches is ideal for play areas.
Let’s use a rake to spread it evenly.
Finishing Touches
Once we’ve got the mulch down, it’s time for the finishing touches. We’ll:
- Use a level to ensure evenness.
- Rake out any irregularities.
- Water the mulch lightly to help it settle.
Ongoing Care
Rubber mulch is low maintenance, but not no maintenance.
To care for our rubber mulch:
- Rake regularly to maintain an even surface.
- Remove leaves and debris to keep it looking neat.
- Periodically check for and remove weeds, despite the weed barrier.
While rubber mulch doesn’t break down like organic mulch, we might need to replenish it every few years due to displacement from wind or play.
A little bit of care goes a long way to ensure our rubber mulch stays fresh and functional for years.